May 10, 2026
What IICRC S520 mold remediation actually looks like, hour by hour
A step-by-step walkthrough of a real basement mold remediation in Colorado Springs — what we do, in what order, with what equipment, and why.
A lot of mold remediation marketing copy says “we follow IICRC S520.” Almost none of it tells you what that actually means hour by hour on a real job. Here’s a real one — names removed, but the work is exactly what happened.
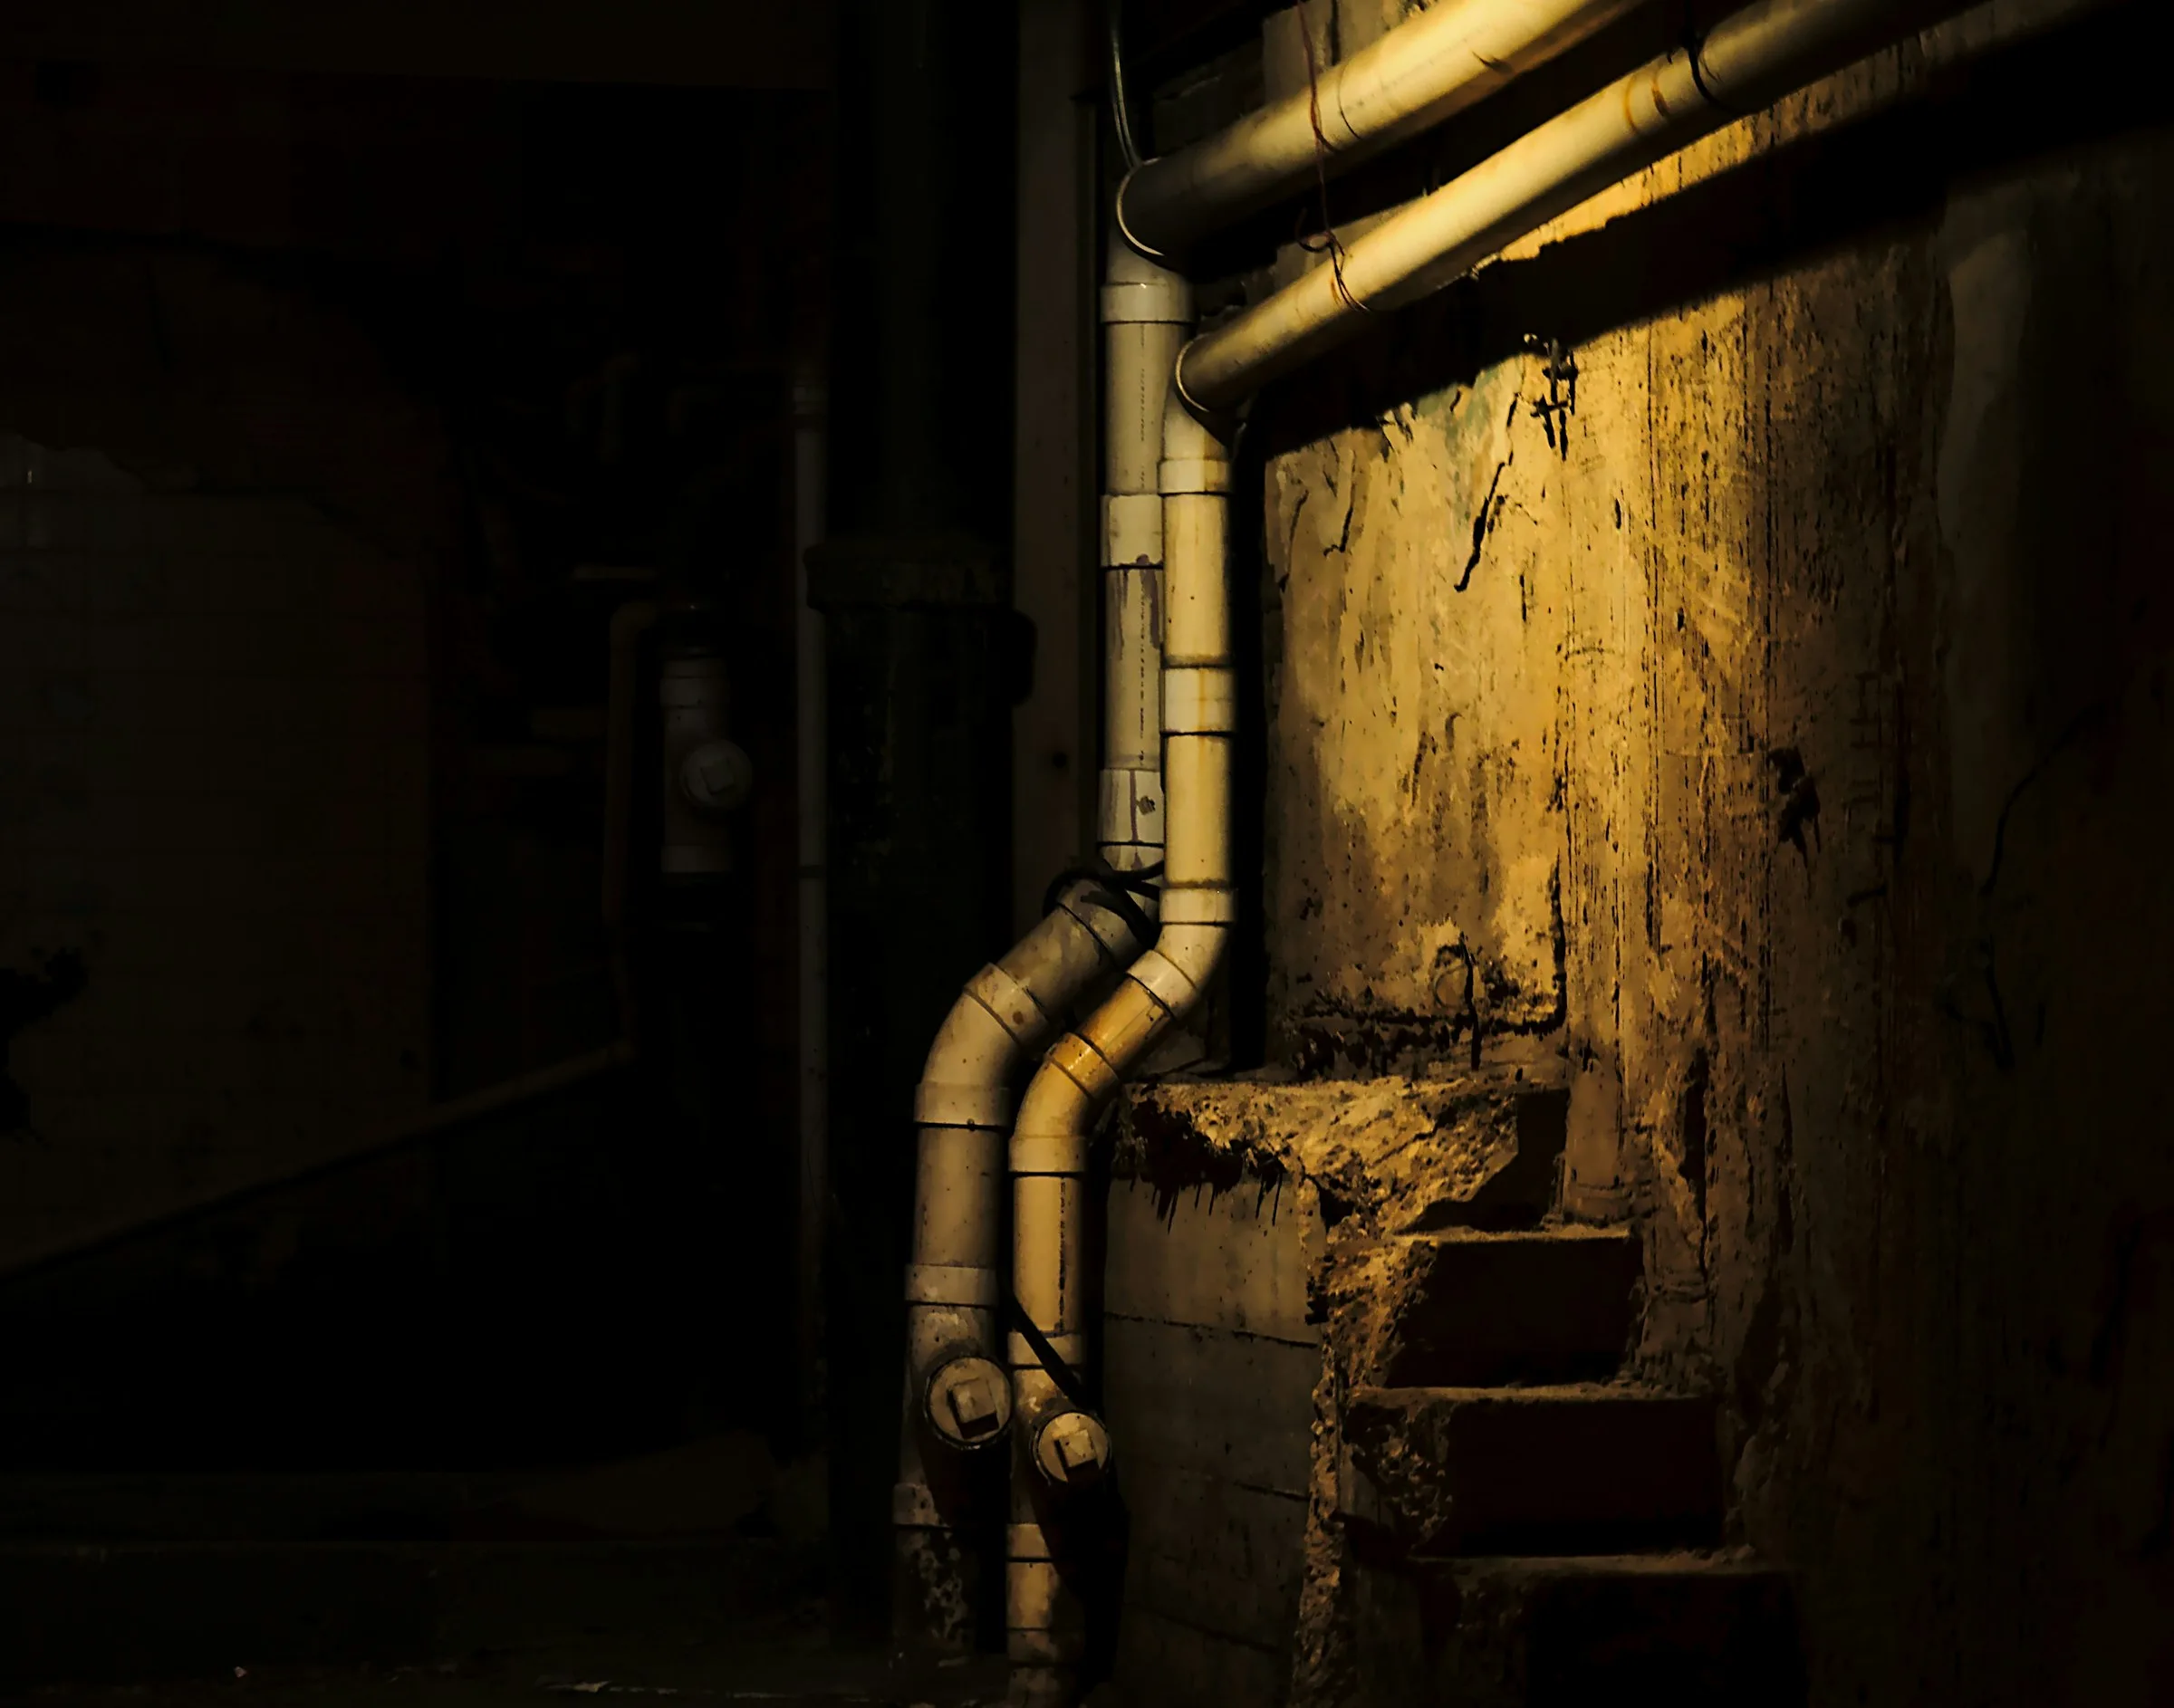
The job: Basement laundry room in a 1968 ranch home in southeast Colorado Springs. Homeowner noticed dark patches on the drywall behind the washing machine after the machine started running long-cycle. Tilted the machine forward, found mold growing 18 inches up the wall and onto adjacent baseboards. Called for an assessment.
Hour 0: assessment
We arrive at the agreed time with a moisture meter, a thermal camera, and a tablet for documentation. The assessment takes about 45 minutes and includes:
- Visual inspection of the affected area
- Moisture readings on the suspect drywall, behind the affected drywall (we drill a small probe hole), the adjacent slab, and the area around the machine
- Thermal imaging of the surrounding walls to see if moisture has wicked beyond what’s visible
- Inspection of the washing-machine supply line and drain, which is where the moisture originated
- Photos at each step
- Discussion with the homeowner about what we’re seeing
We write a fixed-price quote on the spot: $2,800 for remediation, separate $500 quote for replacing the affected drywall and baseboards after. Homeowner signs. We schedule the work for two days later, giving the supply line a chance to be replaced by a plumber first (we don’t do plumbing).
Day of work, hour 1: containment setup
Two technicians arrive at 8 a.m. with a truck loaded with poly sheeting, zippered doorways, two negative-air HEPA machines, an extension cord cable, antimicrobial spray, two-mil bags, and PPE.
First task is containment. We seal off the laundry-room doorway with poly sheeting and install a zippered entry. Any HVAC vents in the laundry room get taped over so the system doesn’t pull contaminated air into the rest of the house. The negative-air HEPA machine goes in the laundry room with its exhaust ducted through a window port — air flows into the laundry room from the rest of the house and out through the HEPA filter to the outside.
You can hear it running. It’s loud. The pressure differential is verified with a manometer reading — we want at least 0.02 inches of water column negative inside the work zone.
Hour 2: removal begins
Technicians in respirators and disposable Tyvek suits enter the work zone. The affected drywall comes out in sections. The washing-machine connection wall is unscrewed from the studs and double-bagged for disposal. Baseboards come off and bag. Carpet pad that extended into the affected zone gets cut out, double-bagged, and labeled.
Behind the drywall, we find what the moisture meters predicted: studs that are surface-colonized but structurally sound, and a section of bottom plate (the horizontal 2x4 that sits on the slab) that has soft rot from sustained moisture. The bottom plate gets cut out and removed.
We HEPA-vacuum every framing member that stays in place. The vacuum has its own HEPA filter — it doesn’t recirculate spores back into the air.
Hour 4: antimicrobial treatment
With colonized material removed and surrounding framing HEPA-vacuumed, we apply EPA-registered antimicrobial solution to every wood surface in the work zone. This is not “fogging” in the marketing-spam sense — it’s wet application to specific surfaces with a low-volume sprayer, technician inches away from the work.
The solution sits for the prescribed dwell time per the product label. Then we wipe down the framing with clean microfiber to remove residue.
Hour 5: structural drying
The slab where the bottom plate was — and any framing that was even slightly elevated on the moisture meter — needs to come down below 16 percent moisture content before we close the wall back up.
A dehumidifier goes into the work zone. Two air movers point at the affected surfaces. The system runs continuously. We come back the next morning to check moisture readings.
Day 2, hour 0: moisture verification
We arrive at 8 a.m. and re-read the framing and slab. Bottom plate (the new one we’ll be installing) area: 12 percent moisture content, well within spec. Adjacent studs: 14 percent and 13 percent. We’re cleared to close.
Day 2, hour 1: final cleaning and clearance
Before removing containment we HEPA-vacuum every surface in the work zone one final time — floor, exposed framing, walls, ceiling. Then we wipe horizontal surfaces with a damp microfiber.
For this job (under $5,000) we do visual clearance: walk-through with the homeowner, confirm no visible mold remains, document the moisture readings. We do not do post-clearance air sampling on jobs of this size because it adds cost without changing the work — we sample air on jobs over $5,000, where the scale justifies the lab fee.
Day 2, hour 2: containment removal and final report
Negative-air machine off, poly sheeting removed and bagged, window port re-closed. HVAC vent tape removed. Final photos of the cleared work zone. Bags taken to the truck for proper disposal.
We hand the homeowner a one-page completion report with photos of the affected area before, during, and after; the moisture readings at each stage; a list of materials removed; and the products used (with their EPA registration numbers). This is the document she can give to a future buyer, an insurance adjuster, or a future contractor working in that wall.
What this cost, total
Remediation: $2,800. Subsequent drywall + baseboard reinstall by our reconstruction crew: $500. Total out of pocket: $3,300. Time on site: about 14 hours across two days. Time the homeowner needed to be present: about an hour, total, for the assessment and the final walkthrough.
The original water source — the washing-machine supply line — was replaced by a plumber for about $400 before our work started. That’s the only third-party cost. If you’re reading this with a similar situation in your own home, that’s roughly the budget to plan for.
Why we wrote this up
Most mold remediation explainers are vague. “We follow strict protocols using state-of-the-art equipment” is not an explanation of what’s happening to your wall. The real work is methodical, equipment-heavy, documented in detail, and not particularly mysterious. The complexity is in doing each step in the right order, with the right pressure differential, at the right moisture content — not in any single dramatic move.
If you’d like an assessment for your own situation, call (719) 782-8899. The assessment is free and we’ll tell you whether what we’re describing here is what you actually need, or whether something simpler will solve it.
Questions? Call (719) 782-8899 or send a message.